Moodle has several new features that allow you to customize how your course appears to students and guests.
Before you start, you may need the following:
- an Instructor of Record or Other Editing Teacher role in a Bryn Mawr Moodle course.
Add a course image and summary
The course image replaces the default colored boxes shown above a course title in the Dashboard and My courses pages. The course summary only appears when browsing or searching courses on the Moodle Home page.
- Open your Moodle course and toggle Edit mode on
- Click Settings in the course menu.
- Click Description to expand it (if needed).
- Enter a brief description or information your course into the Course summary text box. A 3-4 line description is best, since there isn't always space in the interface to display more. Formatting will not always carry over.
- Upload a gif, jpg or .png file to the Course image field.
- Click Save and Display.
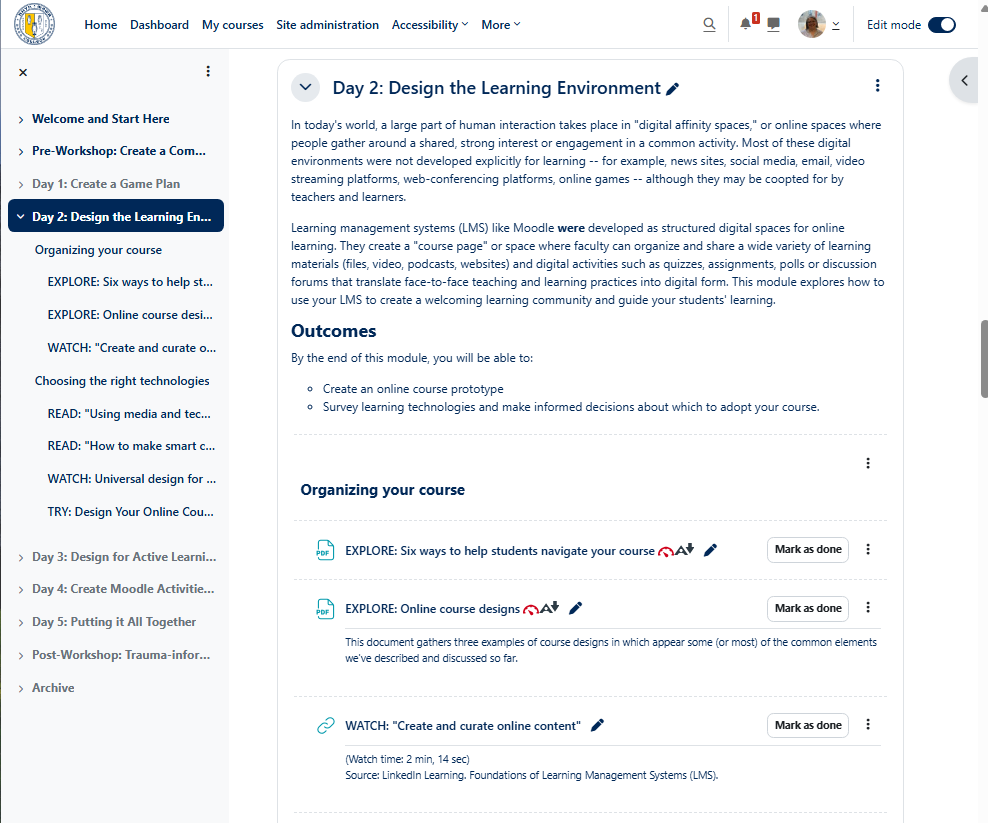
Format for easier navigation
You can make it easier for students to find what they need in the collapsible course index and the Moodle course page and minimize cognitive load with a few simple formatting tweaks.
- Give course sections, activities and resources meaningful names. With Edit mode toggled on, click (edit title/edit section name), type in a new name, and press Enter. (If you want to auto-label all sections with week dates, click Settings and choose Weekly as your Course Format).
- Indent activities and resources to create visual hierarchy. With Edit mode toggled on, click and choose Move right or Move left.
- Add subheadings to course sections with many activities or resources:
- With Edit mode toggled on, click +Add an activity or resource in the section that needs a subheading.
- Choose Text and media area.
- Type the subheading in Title in course index box to place it in the course index.
- Type the subheading again in the Text box to place it on the course page.
- Select the subheading text and choose Format > Paragraph styles > Heading 3 to give it the appropriate heading level and style to ensure accessiblity.
- Click Save and return to course.
- Be consistent when naming and presenting course elements. Use the same naming and formatting conventions for like elements; differences should be meaningful.
- Keep context and accessibility in mind when formatting, for example:
- Underline denotes a hyperlink in most online platforms (including Moodle). Use bold for emphasis and italics for book titles instead to avoid confusions.
- If you are using color to convey meaning, also use other formatting cues (such as bold) that colorblind viewers can detect. Using verbal cues, such as "Important:" in addition to formatting and color makes them legible to screen readers.
Take advantage of the Timeline and Calendar
The Timeline and Calendar features on the Moodle Dashboard are designed to help students manage their time and responsibilities.
- Add Activities (Quizzes, Assignments, etc.) to the Timeline and Calendar by giving them a due date in in Availability settings.
- Add Resources (URLs, Files, etc.) to the Timeline and Calendar by giving them Completion conditions setting with a timeline reminder option.
- Zoom meetings scheduled through the Zoom Activity in a Moodle course are automatically added to the Calendar.
- On the Calendar page, click New event to add other course events, such as in-person meetings, lab sections or talks, etc.
Share Moodle: Keep organized with Calendar and Timeline with students.
Videos & further reading on course customization
Questions?
If you have any additional questions or problems, don't hesitate to reach out to the Help Desk!
Phone: 610-526-7440 | Library and Help Desk hours
Email: help@brynmawr.edu | Service catalog
Location: Canaday Library 1st floor

