Omeka is one of several open-source, content management system (CMS) apps you can install on your Domain of One's Own domain in order to create a website.
When to use Omeka
- Omeka was developed for archives, museums, and other cultural organizations, as a way to create digital collections and exhibits using items in those collections.
- It is most useful when you want to create a searchable database of digital files (such as, photographs of art objects or document pages) with associated metadata.
- If you are only creating media-rich web pages or want to create more complex narratives, a general-use CMS like WordPress will typically be faster to set up and provide more flexibility.
- You will probably need to download and install plugins and themes to get the functionality and look you desire and this process is a little more cumbersome than it is on other platforms.
See also: Reclaim Hosting's article on Omeka case studies.
Build an Omeka site
This tutorial is intended as a quick overview. See the Omeka User Manual for in-depth instructions on all aspects of building a site.
Before you start, you will need to:
- set up your account/domain on Domain of One's Own
- install Omeka on that domain
Add and edit items
Each item is the digital record representing a physical or digital object, which typically consists of metadata about that object and an image of it. For example, if you are building an Omeka site to for a collection of historical documents, each document would be an item on your site.
- To view all items on your site, log into your Omeka site using your username and administrator password, and click Items in the left sidebar.
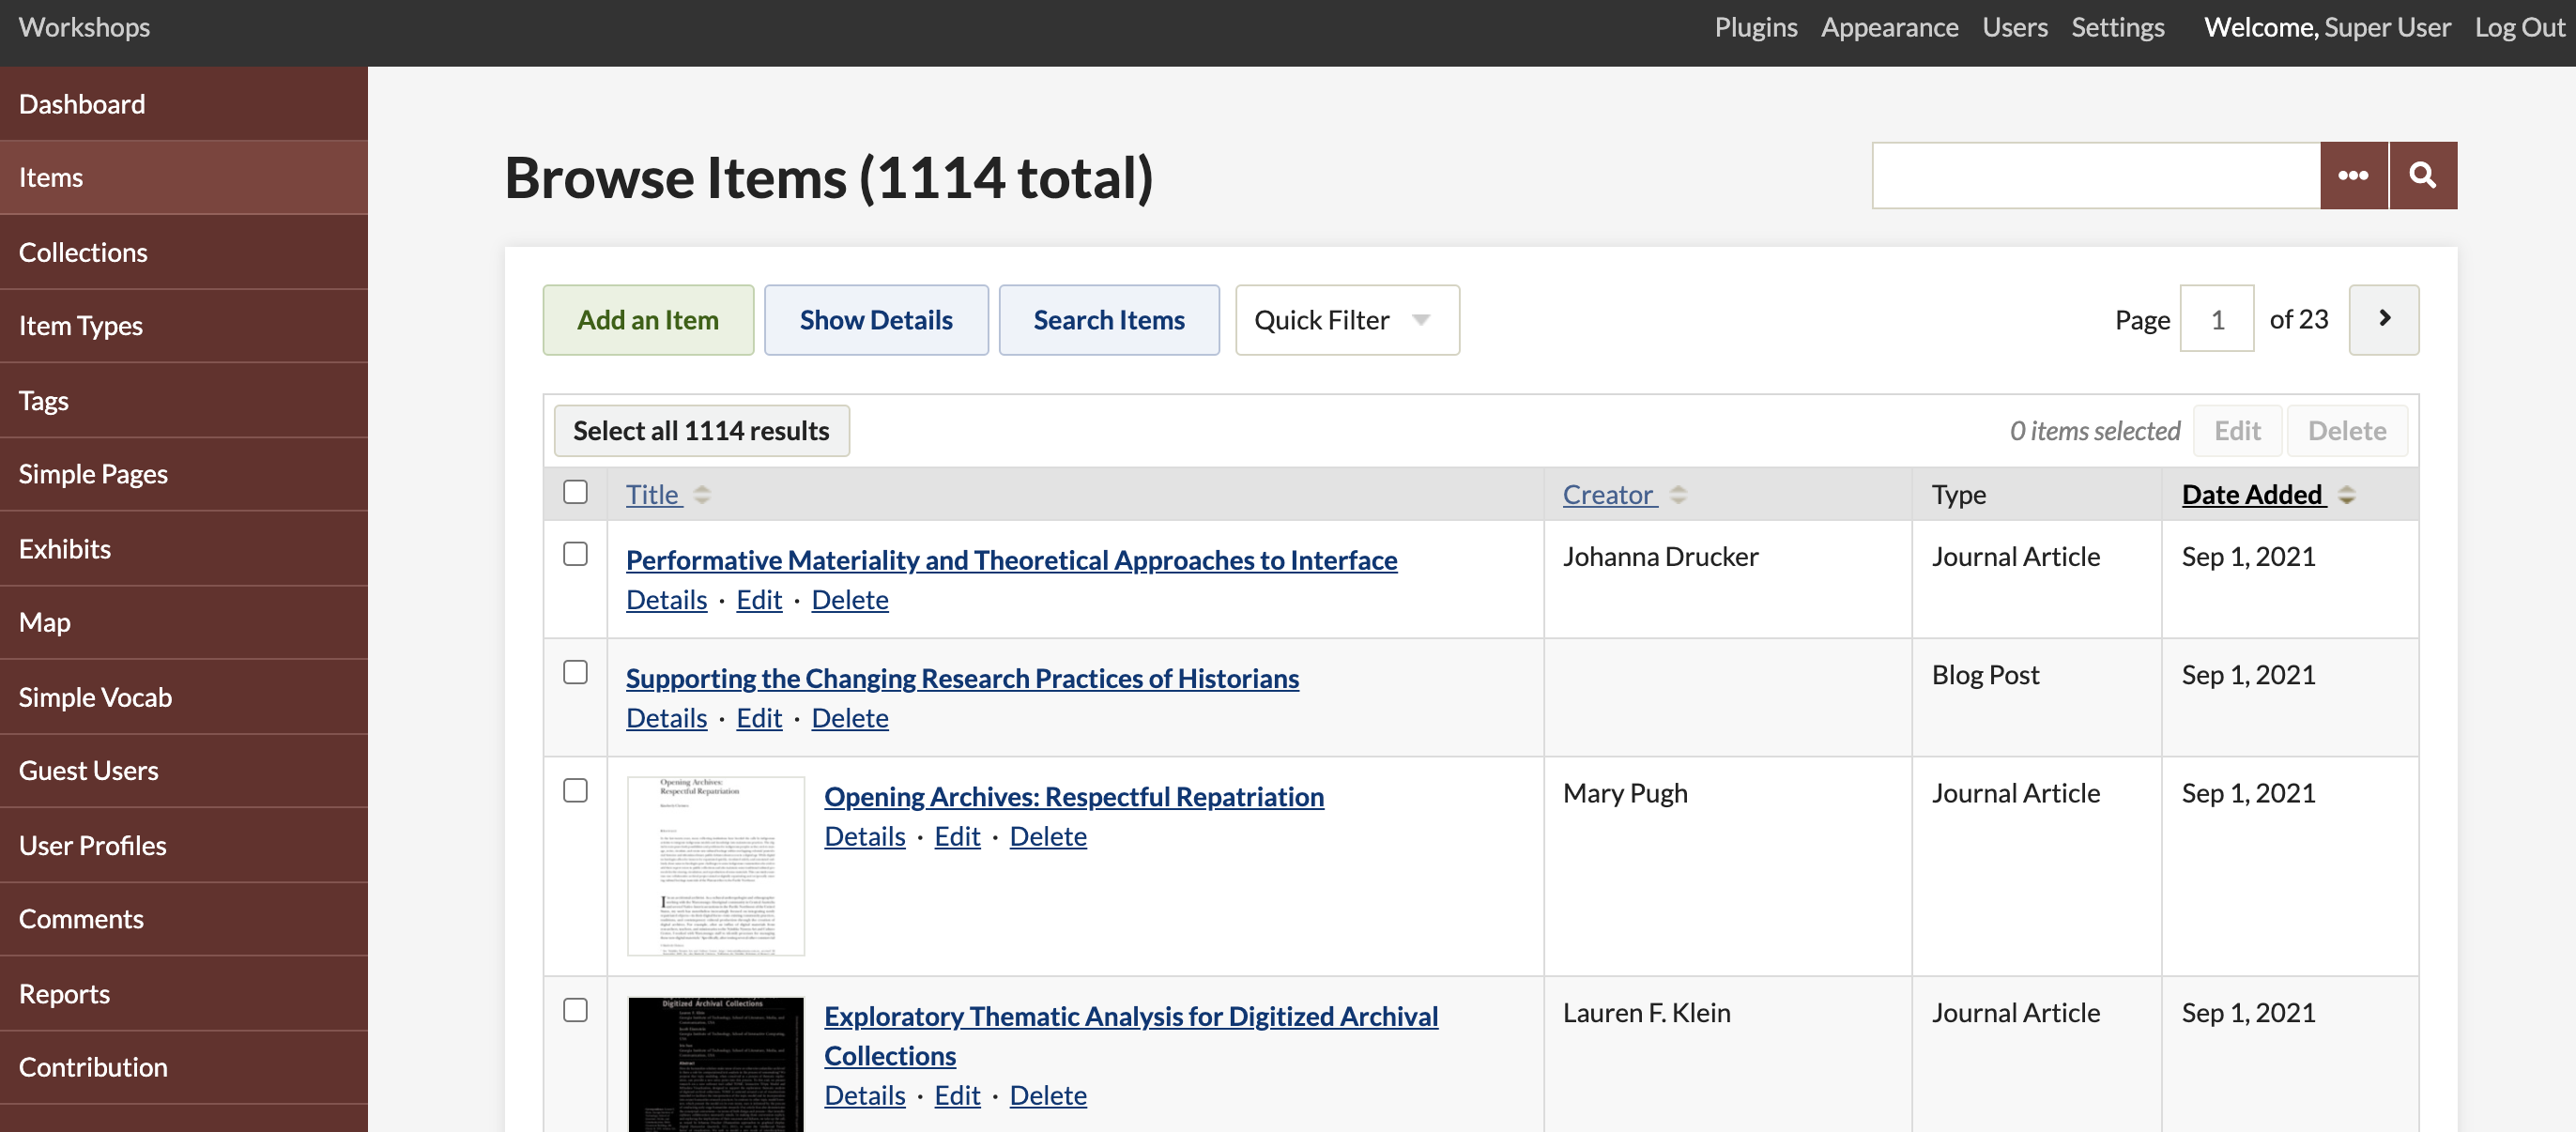
- To edit or delete an item, click on the Edit or Delete link next to the item's title in the list.
- To add items one-by-one, click Add an Item, to open a window where you can add a title and description, metadata, files and tags as needed, add it to a collection, and control whether the item is publicly visible or not.
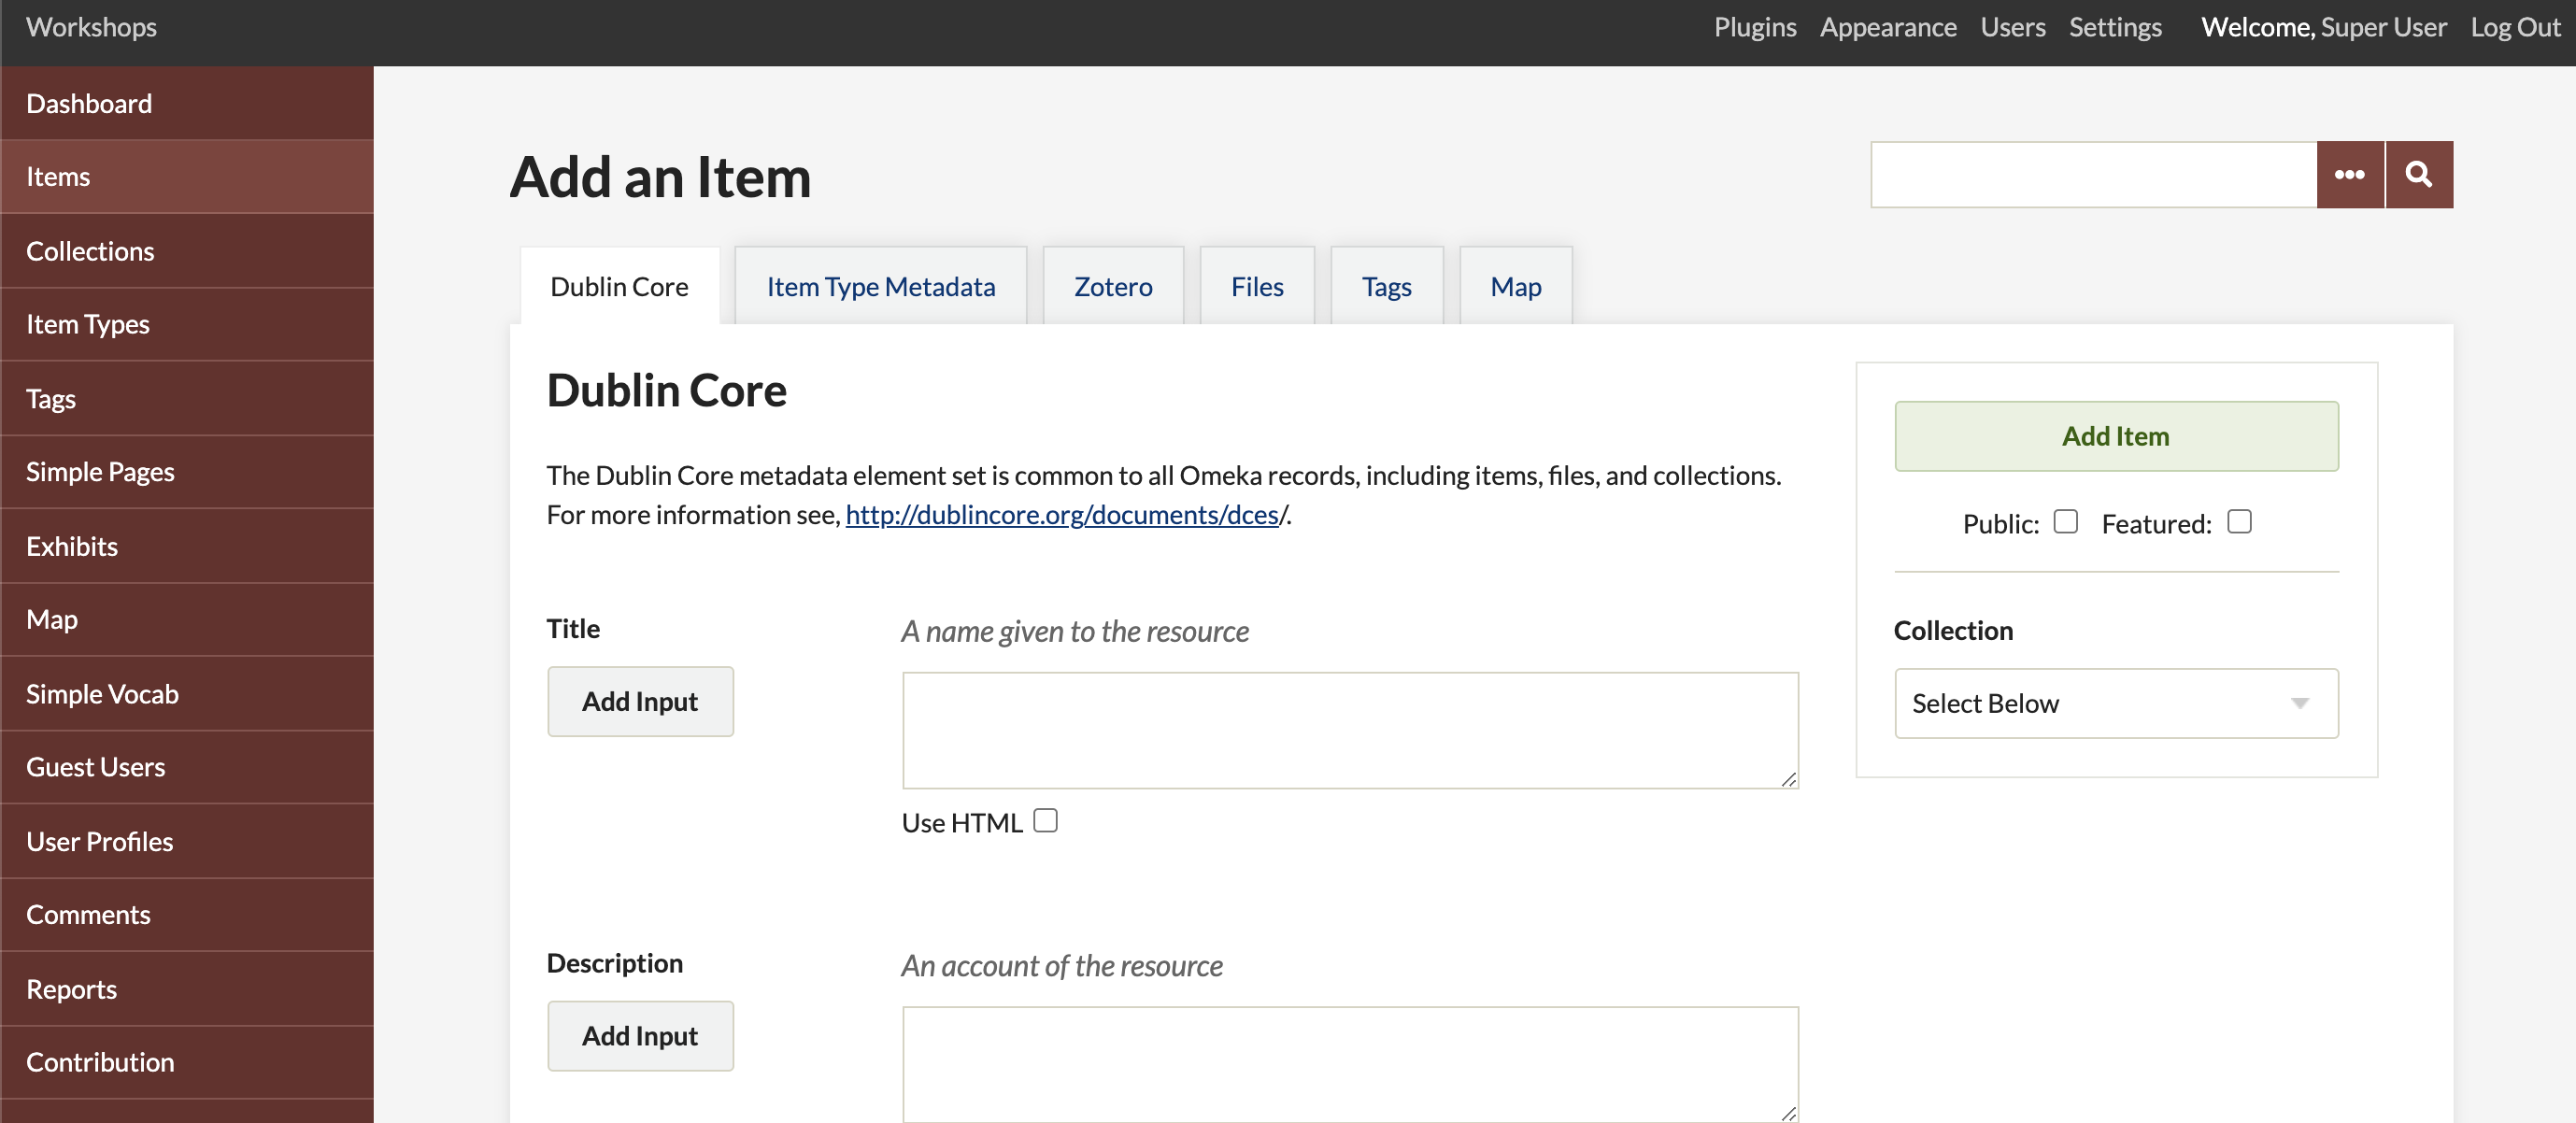
- Accurate and consistent metadata is extremely important for Omeka sites as viewers use it to search and filter items. Omeka is designed to use Dublin Core metadata standards; see Omeka's user guide for information about metadata field definitions and how to set up controlled vocabularies.
Create an exhibit
Omeka's Exhibit Builder plug-in allows you to create web pages that combine items from your collections with narrative text.
- If you have already done so, you will need to activate the Exhibit Builder plugin (click Plugins, find Exhibit Builder in the list, and click Activate).
- Once you've activated the plug-in, Exhibits will show up in the left sidebar, click this to add and edit exhibits.
- Click Add a Exhibit.
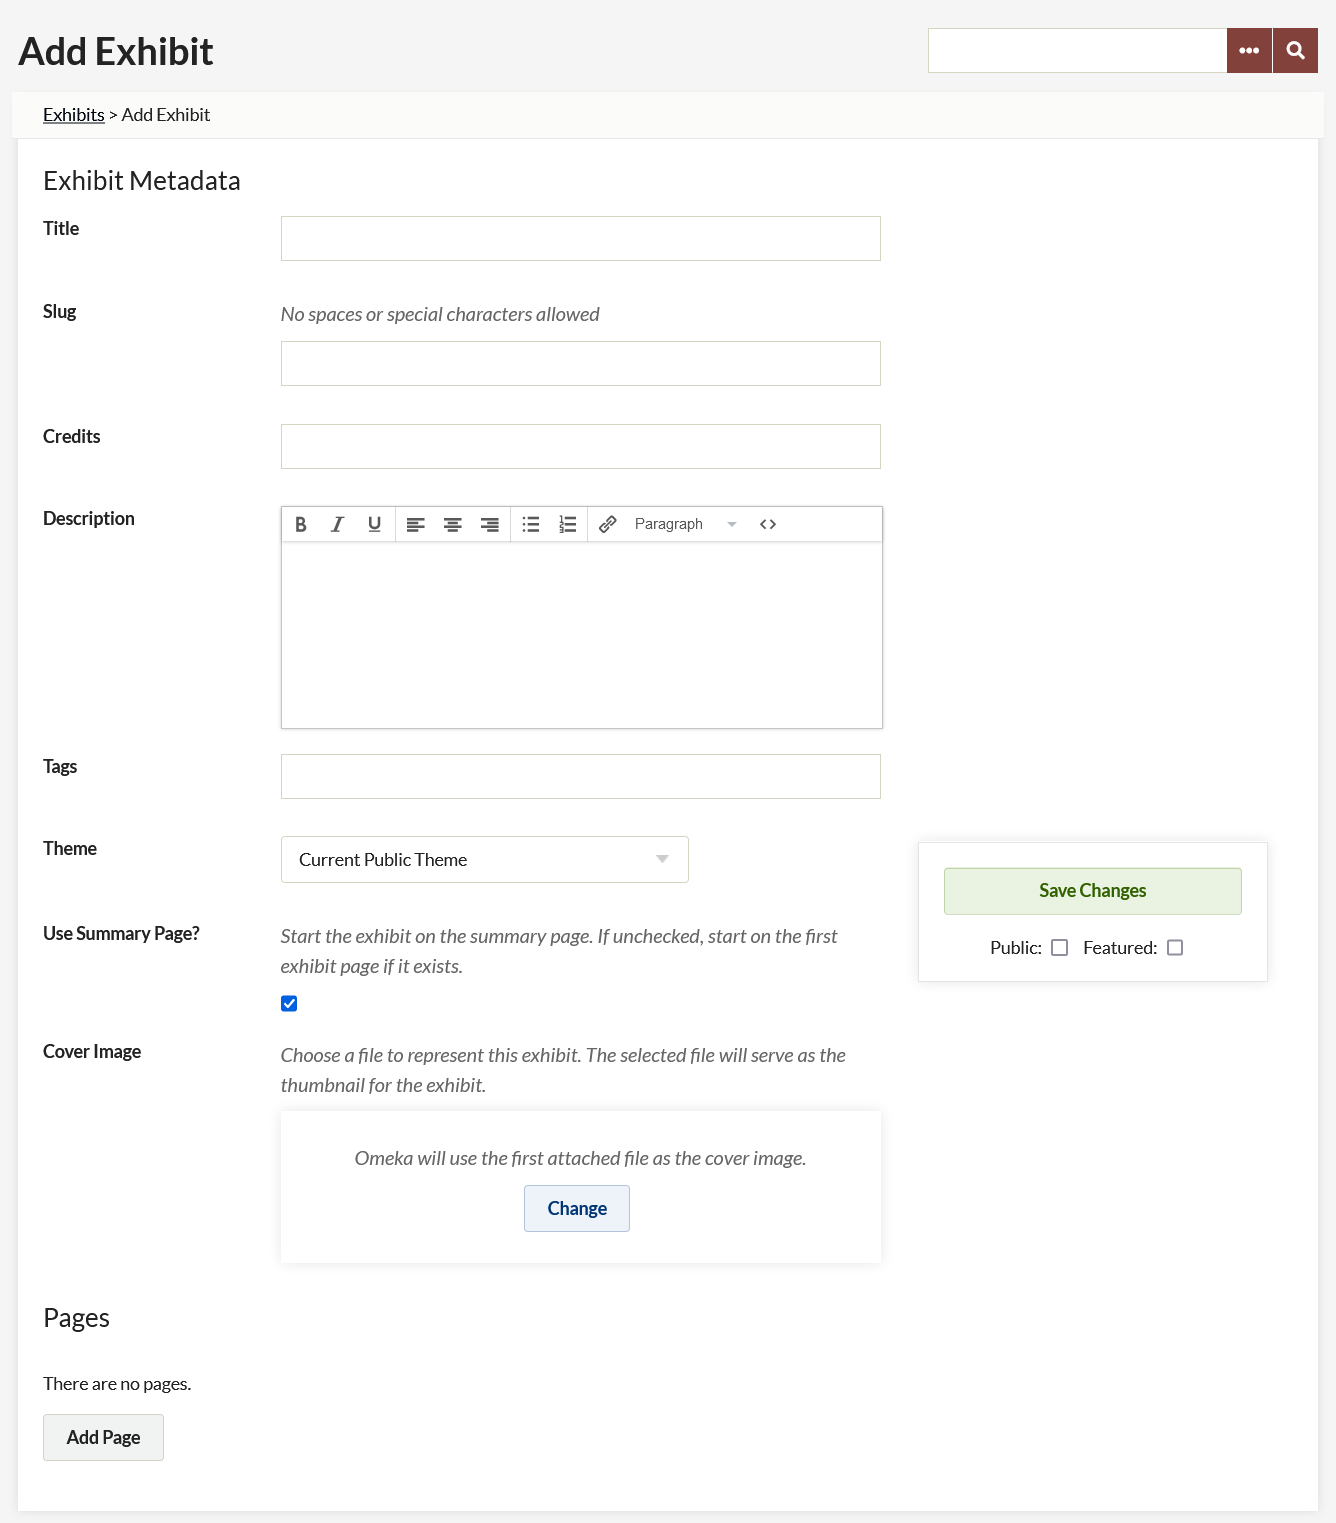
- Enter the metadata about your exhibit -- title, description, tags, cover image, etc. and click Save Changes.
- Each exhibit can have multiple Pages, click Add Page to create them, then drag-and-drop them within the Pages section to reorder and nest them.
- Click on a Page name to choose a layout for it and begin adding content.
See also: Omeka's Exhibit Builder guide.
Install Omeka plugins and themes
This is a two-step process in Omeka. First, download the plugin or theme and then upload it to the appropriate folder in your domain:
- Download the plugin .zip file or the theme .zip file from the Omeka developer's website.
- Use the Domain of One's Own File Manager to upload the .zip file into the appropriate directory on your Omeka site:
- public_html/omeka/plugins (for a plugin)
- public/omeka/themes (for a theme).
- Select the .zip file you just uploaded, and click Extract.
- Confirm that the correct folder (public_html/omeka/plugins or public_html/omeka/themes) is listed as the location or correct if needed, then click Extract File(s).
- Click Close to exit the File Manager.
Once you've uploaded the plugin or theme files to the correct folder in your domain, you will see and can install the plugin or theme through the Omeka interface:
- Click Applications in the Dashboard/CPanel sidebar to view the list of applications you've installed.
- Log in your Omeka site using the username and administrator password you set up when installing Omeka.
- Click Plugins or Themes and look for the things you just uploaded and extracted.
- Click Install.
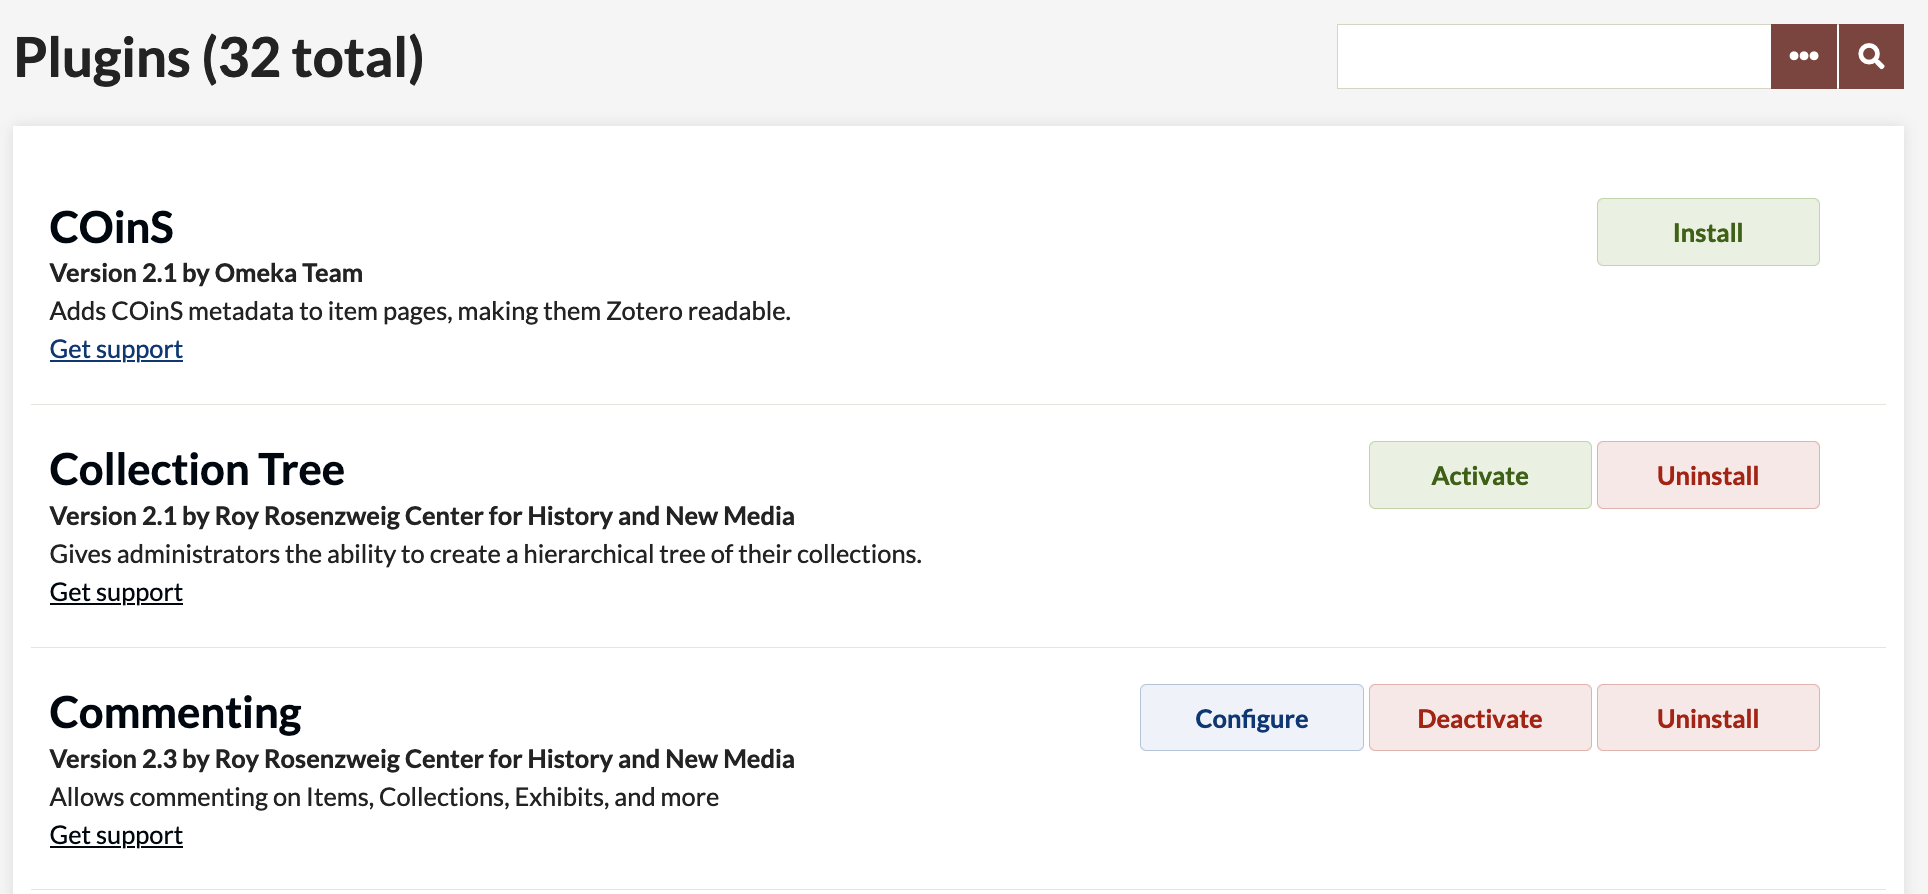
Click the Activate and Deactivate buttons to turn plugins and themes on and off. Some plugins and themes will have settings you can to Configure.
To protect your site from hacking, keep your plugins and themes for upd

Learn more:
Questions?
If you have any additional questions or problems, don't hesitate to reach out to the Help Desk!
Phone: 610-526-7440 | Library and Help Desk hours
Email: help@brynmawr.edu | Service catalog
Location: Canaday Library 1st floor
