Moodle: Take attendance
Last Modified on 10/10/2025 10:22 am EDT
The Attendance activity enables teachers and students to record attendance (both during and after class) as well as students to view their own attendance.
Before you start, you may need the following:
- an Instructor of Record or Other Editing Teacher role in a Bryn Mawr Moodle course.
Create the Attendance activity
- On your course page, toggle the Edit Mode button (if you haven't already).
- Navigate to the section of your course where you want to add the Attendance activity and click +Add an activity or resource.
- From the activities menu that opens, select Attendance.
- Give the activity an appropriate Name. The default name is set to Attendance, but you can change it if desired.
- Use the Grade drop-down menu to determine how the activity will be entered into the Gradebook. You can change the following settings:
- Grade: this determines the format used to create the grade. Grades may be calculated in the following ways:
- Point: this format requires selecting a Maximum grade
- Scale: Moodle has Complete/Incomplete (Auto-Grading) as its default. You may also select Complete/Incomplete (Manual), Default Competence Score, and Seperate and Connected Ways of Knowing.
- None: if you want the assignment to be ungraded.
- Grade category: which section of the course gradebook will contain this activity.
- Grade to Pass: a minimum score needed to pass this activity.
- Click Save and return to course.
Each Attendance activity can be used to keep track of multiple course meetings. Instructors typically create one activity for the whole course or one activity each for different types of course meetings (e.g., lecture, lab, discussion section, etc.)
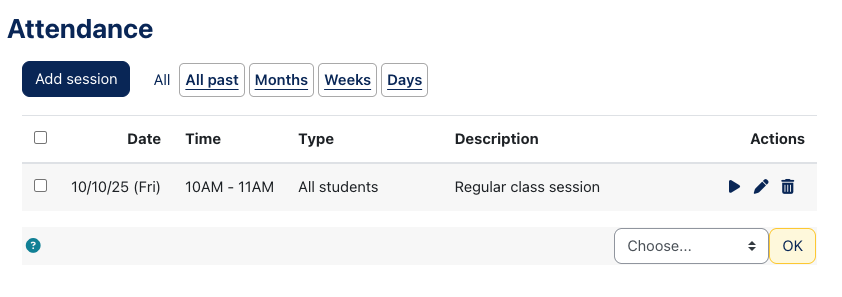
Add sessions
- Open the Attendance activity.
- Click Add session.
- In the Add session menu, select the relevant settings for this session:
- Type: Will the session be for All students or a specific Group of Students.
- Date
- Time
- Description
- Next, use the Multiple sessions menu if you want to set up add attendance tracking for several class meetings at one time. In this case, select the Repeat the session above as follows box. From there, select the appropriate days of the week in the Repeat On menu. Select Repeat to determine how often this sequence will repeat. Use Repeat until to set a stop date for this repetition.
- Finally, use the Student recording menu if you want students to be able to log their own attendance. Clicking Allow students to record own attendance will let them do this. Selecting Show More to see options that prevent students from recording each other's attendance, including Require network address and Prevent students sharing IP address.
Edit course schedules
- On your course page, click on your Attendance activity.
- Once the activity opens, there are a range of actions you can use to change the course schedule:
- The Add Session button lets you add more meetings to the attendance schedule.
- Edit session lets you change aspects of an individual session, such as its Date and Time.
- Delete Session lets you remove one or multiple session.
- Change duration lets you modify how long one or multiple sessions will meet.
Take attendance
- On your course page, click on your Attendance activity.
- Once the activity opens, you will see all the course sessions you've added. Find the session you're interested in and select Take attendance under Actions.
- If you have collected your attendance in a spreadsheet, you can use Upload attendance by CSV. Otherwise, you will have to enter students' attendance manually. Students can be marked as Present, Late, Excused, or Absent. You may also enter Remarks for a student's session.
- When finished, select Save and show next page to go to the next session.
Want More Info? Read These Articles from Moodle
Questions?
If you have any additional questions or problems, don't hesitate to reach out to the Help Desk!
Phone: 610-526-7440 | Library and Help Desk hours
Email: help@brynmawr.edu | Service catalog
Location: Canaday Library 1st floor

