The Canon Multifunction Copiers can be used to copy documents and scan them to a USB flash drive or the College's network drives. These copiers include the public printers available in public labs as well as any Canon-brand departmental printers.
Scan documents
Tip: We have documentation for how to make accessible scans with optical character recognition!
Scan to a network drive
- Swipe/tap your OneCard to login
- Tap Secure Print Scan
- Press Scan
- Choose a destination
- Adjust your scan settings as necessary
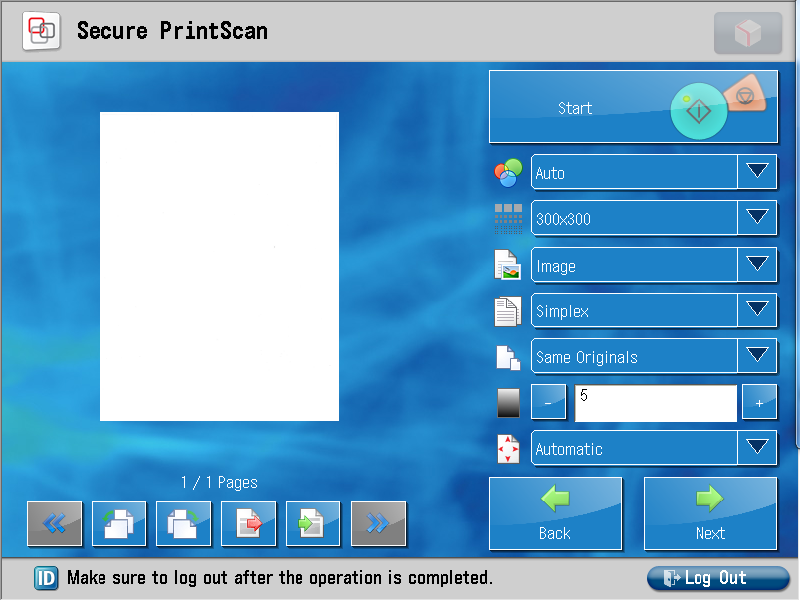
- Double-sided documents: select duplex
- Receipts: change Same Originals to a mixed setting
- Press Start
- If prompted, select a paper size and press Start
- Follow the on-screen prompts and press Next
- To continue scanning, press Scan -- otherwise, press Main Menu
- Press Log Out


Scan to a USB flash drive
- Swipe/tap your OneCard to login
- Insert your USB drive into the printer
- Tap Scan and Store
- Select Memory Media
- Select your USB drive, typically labelled Memory Media (A:)
- Navigate to the desired destination of your document(s)
- Press Scan
- Adjust your scan settings as necessary
- Press Start
- For additional scans, place them on the glass scan bed and press Start again
- When you are finished scanning, press Start Storing
- Press the green Eject button in the bottom-right corner

- If prompted, press Remove
- Press Log Out


Advanced scan options
Canon provides the following documentation about copy and scan settings. Some of these settings only apply to copies.
Copy documents
- Log in to the printer:
Bryn Mawr personnel: tap your OneCard on the panel next to the printer screen.
Haverford personnel and visitors with a visitor account:
- Tap the User Name field, enter your College email address or visitor account username (including @brynmawr.edu), and then tap OK.
- Do the same in the Password field with your College password or visitor account password.
- Tap Login.
- Tap Copy.
- Adjust your copy settings as desired.
- Tap Start.
Advanced options. Canon provides the following documentation about copy settings. These settings can also apply to scans as well.
Tip: Want to learn more? Register with Canon e-learning using the Serial Number of your printer.
Questions?
If you have any additional questions or problems, don't hesitate to reach out to the Help Desk!
Phone: 610-526-7440 | Library and Help Desk hours
Email: help@brynmawr.edu | Service catalog
Location: Canaday Library 1st floor
