Before uploading your images to Drupal, it’s important to correctly crop, size, and optimize them to ensure they will display correctly and be accessible. The instructions below are for performing those tasks within Adobe Photoshop.
Insert the desired image into Photoshop
There are two ways to insert images into Photoshop.
Method 1:
- Click on File in the menu bar, then Open (or hit Ctrl/Command + O)
- Locate the desired image, click on it, and press the Open button
Method 2:
- From the Windows Explorer or Mac Finder, locate the desired image
- Drag and drop the image into Photoshop
Cropping Images
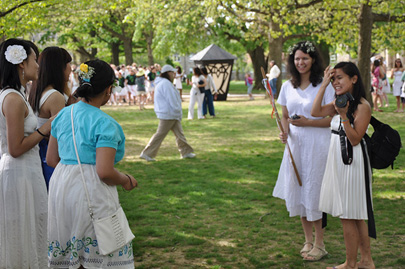
If you wish to cut out a portion of the image, use Photoshop’s Crop tool. For example, you may wish to remove the students on the left side of the image below.
- Select the Crop Tool in the Toolbox (or press the C key)
- Click on an edge and drag inward to crop the image as desired
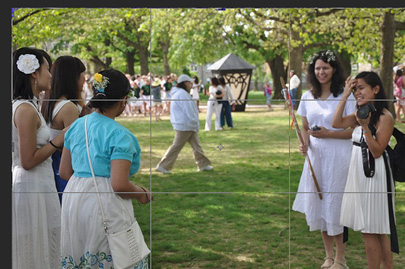
- When you’re finished cropping the image, press the Enter key to finalize the change. If you’ve made a mistake, don’t worry! Cropping is non-destructive, meaning the full original image is still available. To undo your cropping, click on Edit in the menu bar and select Undo… (or press Control/Command + Z)


Resizing Images
Images have many different uses in Drupal, and there are optimal image sizes for various applications. If an image is too large or is an inappropriate ratio, the image may not display correctly in Drupal. Below are instructions for resizing images for various purposes. Note that increasing the dimensions of an image may cause a reduction in image quality.
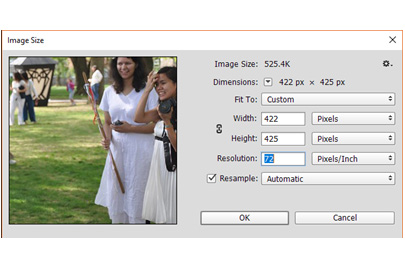
- Click on Image in the menu bar, then Image Size…
- In the Image Size window, set the unit of measure to Pixels by selecting Pixels from the drop-down menu
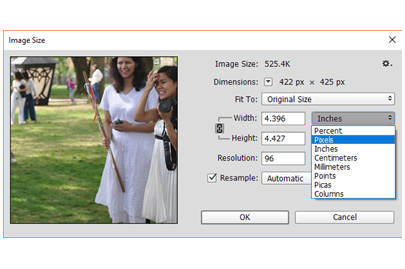
- Adjust the Width and Height measurements based on how you intend to use the image. To view measurement requirements, navigate to the Website Image Size and Format Guide for more information.
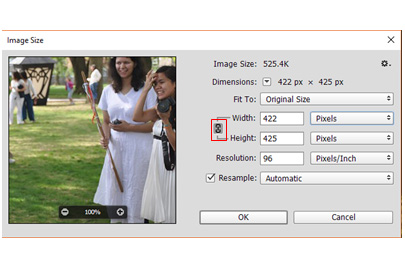
- Note: If you change one of the measurements and the other measurement changes automatically, you must perform the following step.
- Click on the chain icon to unlock the aspect ratio
- Click on the chain icon to unlock the aspect ratio
- Note: If you change one of the measurements and the other measurement changes automatically, you must perform the following step.
- Set the Resolution to be 72 Pixels/Inch as below
- Click OK
- Click OK


Saving and Optimizing the image for the web
Optimizing the image will ensure that it loads quickly on the web. Once you are ready to save and publish your image, follow the steps below:
- Click on File in the menu bar, then Save as…
- Select a location to save the picture
- Select the Save as type: (JPG should be used in most cases)
- Click on the Save button
- The JPEG options window will appear. Under Format Options, select the Baseline Optimized radio button
- Click the OK button
Your image is now ready to be uploaded to Drupal!
If after reading this article or watching the training videos you still have questions, we can help! Sign-up for any of our Drupal Drop-ins throughout the year. Schedule a Drupal training session for you or your whole department with our Drupal Trainer. If you have any additional questions or problems, don't hesitate to reach out to the Help Desk! Phone: 610-526-7440 | Library and Help Desk hoursStill need Drupal help? Have more Drupal questions?
Questions?
Email: help@brynmawr.edu | Service catalog
Location: Canaday Library 1st floor
