Embedding Images
In Pages, News articles, and other various content types and Flexible Content Items, you can add images via the WYSIWYG media browser, and control their positioning.
Resize and crop images before uploading to Drupal, using the recommended image sizes and formats in our guide.
Add an image
When you click on the Image icon in the WYSIWYG toolbar ![]() , or click on an Upload or Browse Library button
, or click on an Upload or Browse Library button ![]() you will see a pop-up window appear that is defaulted to the Browse Library tab
you will see a pop-up window appear that is defaulted to the Browse Library tab
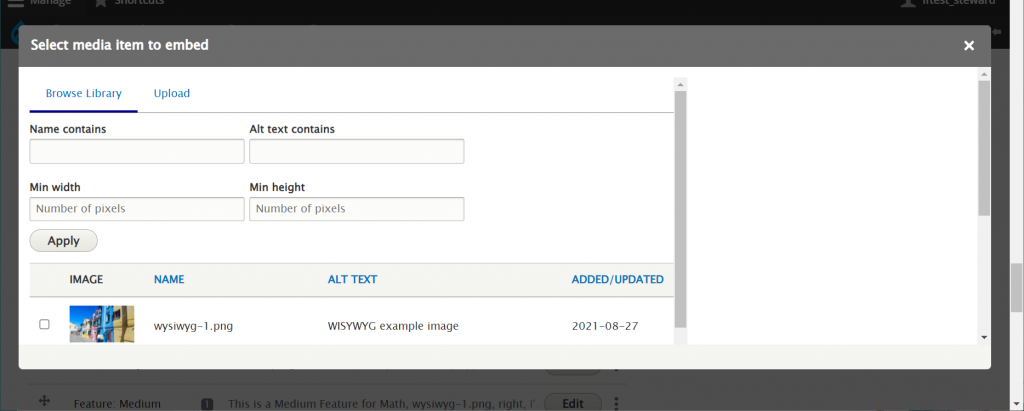
To add an image, click on the Upload tab.
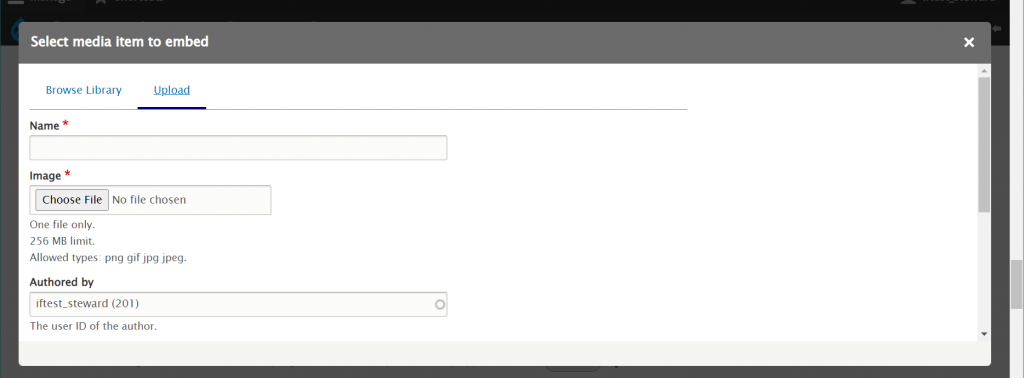
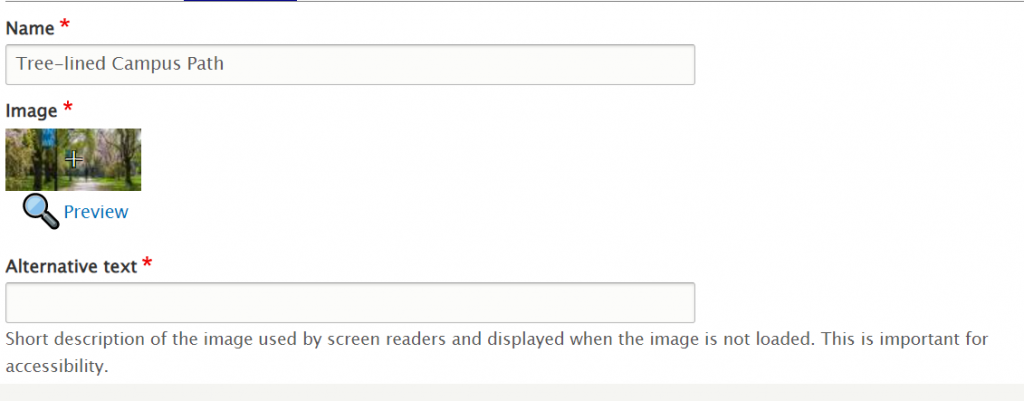
Type in the name of the image so it makes sense to folks who browse the library looking for one that will work for their content needs. Avoid non-descriptive names like DSC_0516.jpg.

Next you can use the Choose File button to browse to the image on your computer and upload it.

Once you choose your file, you will notice the screen changes slightly
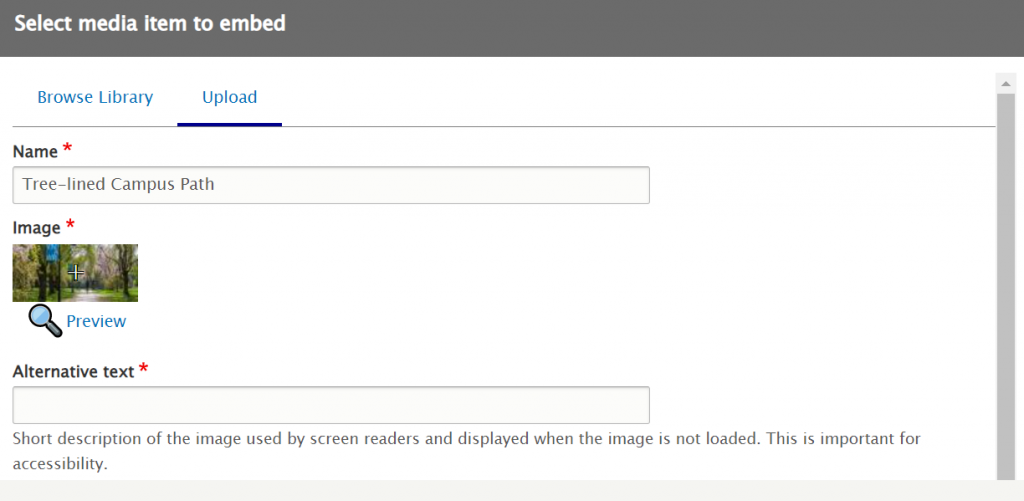
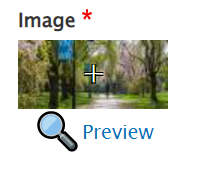
Notice that the tiny thumbnail of the image you uploaded has a + sign / crosshairs in the center of it and the word Preview underneath. These two things are very important for setting the Focal Point and seeing it in all the ways the image can be displayed.
You can click on a different part of this image and make the crosshair + be in that spot.
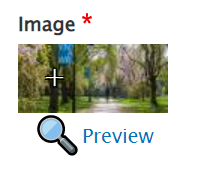
What this crosshair + does is set the Focal Point of the image. In this case, the term Focal Point means the point depicted by the crosshairs + will always be in the image, no matter how the image is auto-cropped for various displays in the site.
In order to see what that means, we can click on the Preview link under the thumbnail to see that this focal point we picked really will be the best part of the photo to never get cropped out.

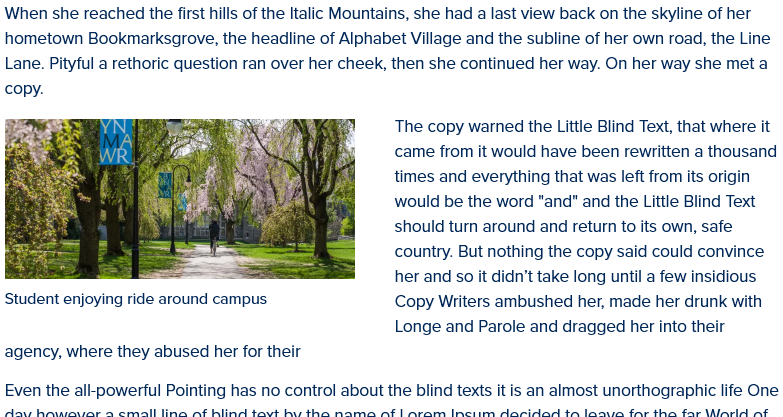
This puts a pop-up window within our pop-up window that displays all the site-wide Image Styles of the image while employing the Focal Point we just selected. We clicked the Focal Point to be on the bike rider in the middle of the path.
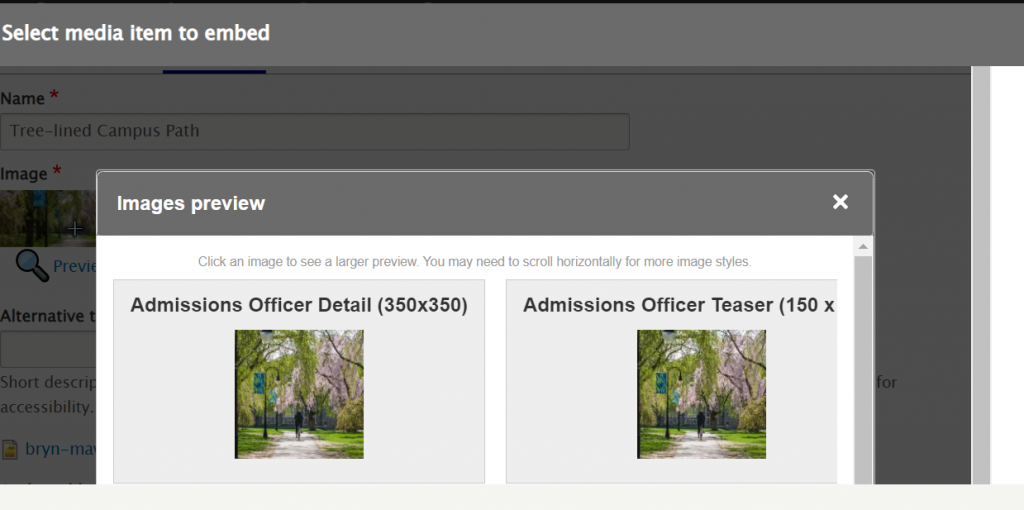
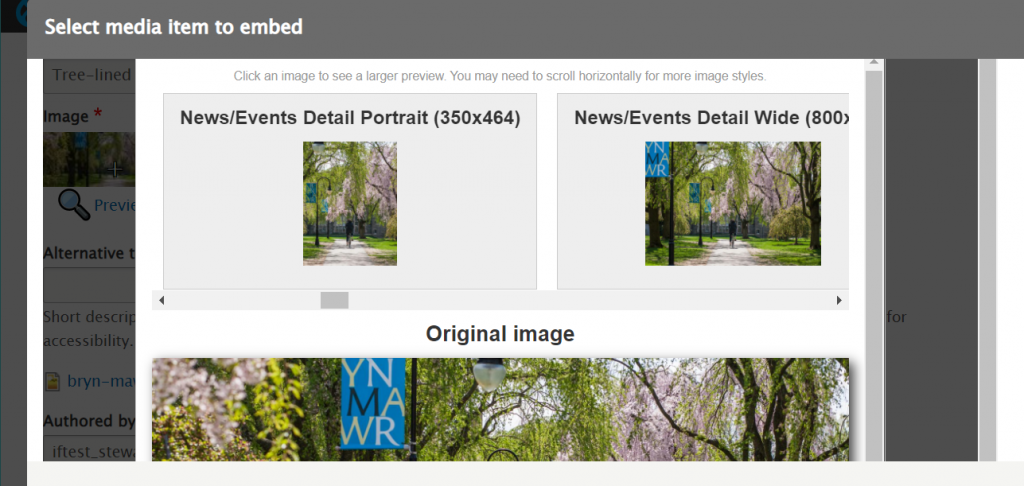
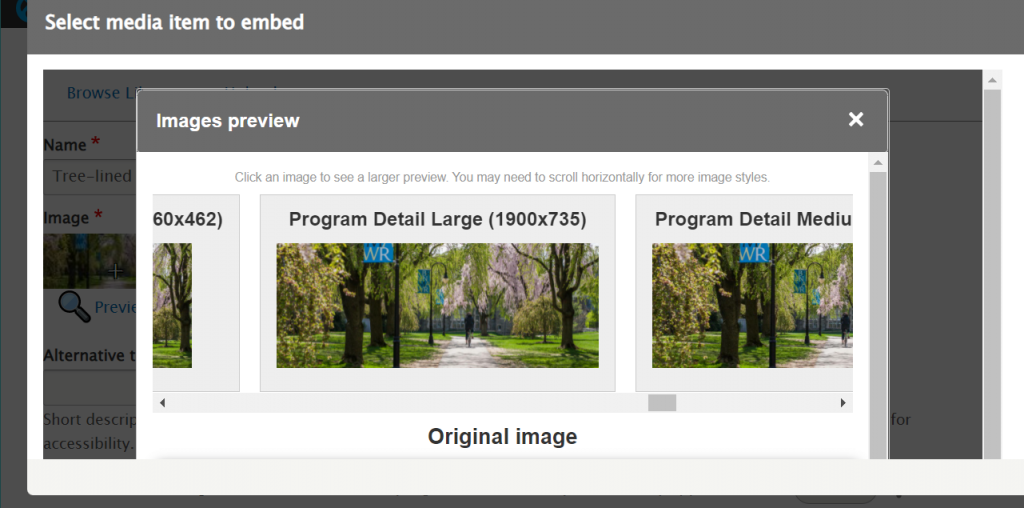
These Image Styles are in a horizontal-scroll pane. If you scroll down you can see the original image for comparison. Here is a view of the horizontal-scroll-pane moved to see the difference between the News/Event Detail Portrait and the News/Event Detail Wide image styles.
When you are finished with the Preview, you can click the X in the upper right of the Image Preview (inner pop-up window) to close the preview.
With the preview closed, the next thing you will need to set is the Alternative Text. This is a required field for accessibility standards.
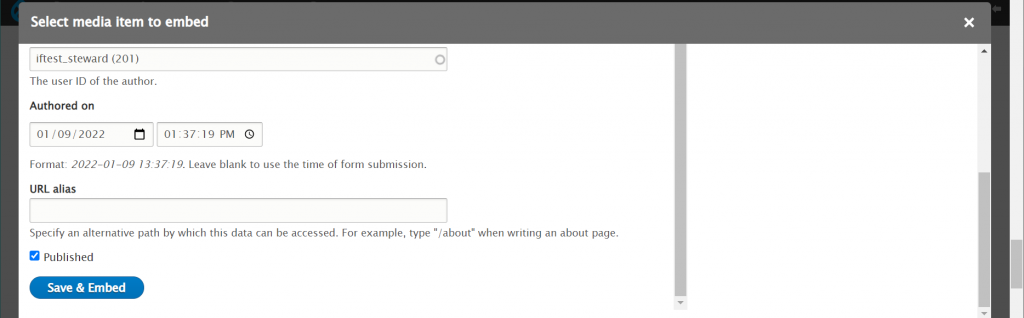
The next two fields are auto-fiilled in with your username and the time-date stamp of the upload of the image.
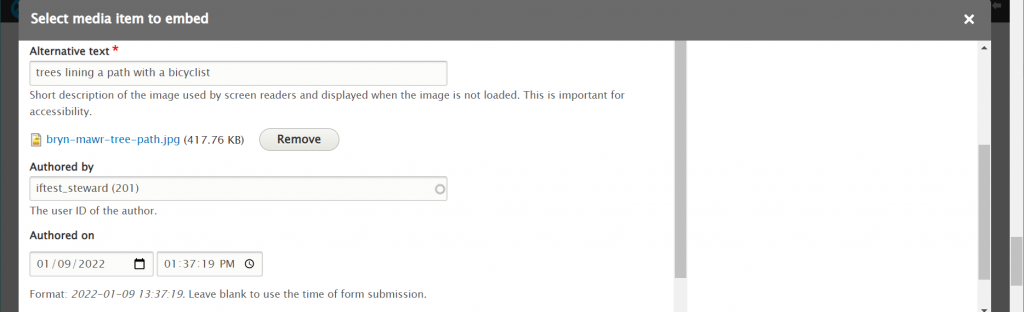
Scrolling past that, there is a URL alias field that is default empty. It is fine to leave this empty and go ahead and press the Save & Embed button.
Non-WYSIWYG image embed
If you are embedding the image in anything other than a WYSIWYG, once you press that Save & Embed button you will resume entering content for that Item or Content Type.
WYSIWYG image embed
If you are embedding the image in a WYSIWYG, once you press that Save & Embed button you will get a new pop-up window to help Drupal know what to do with this image in this instance of using it within the WYSIWYG.
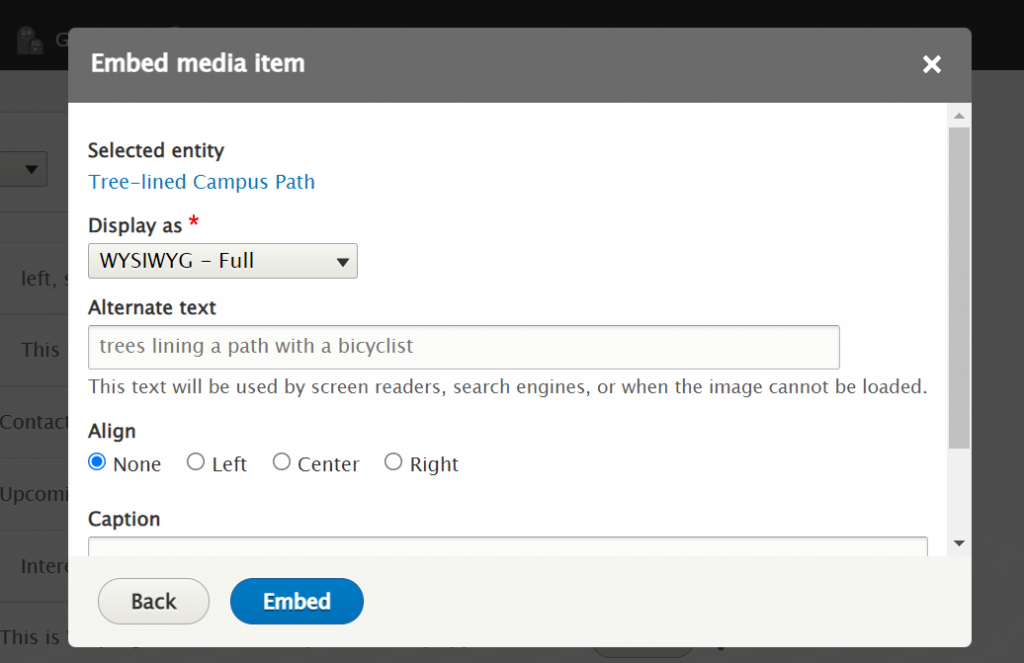
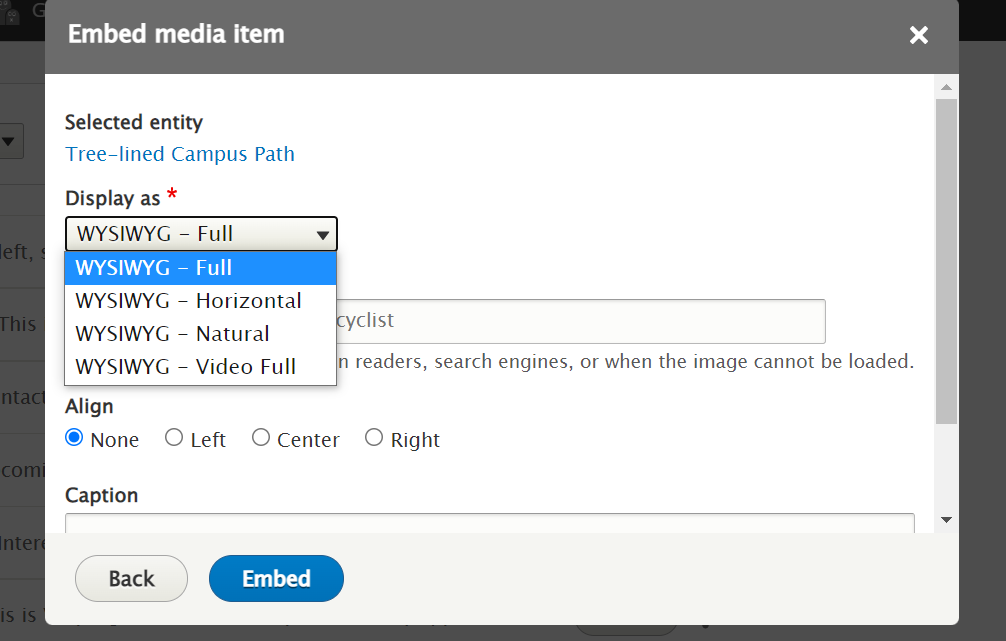
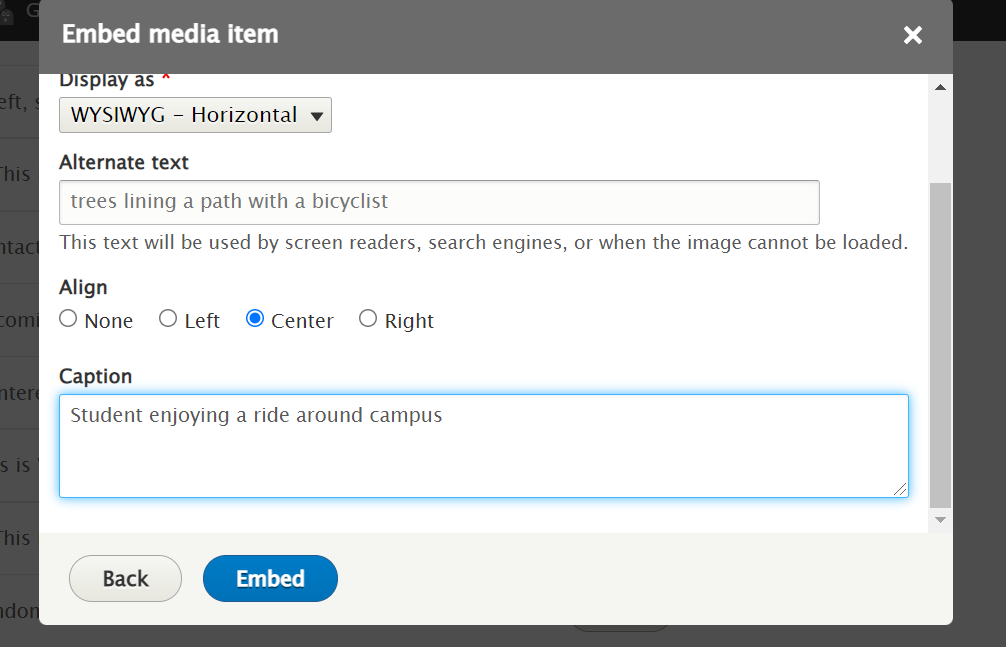
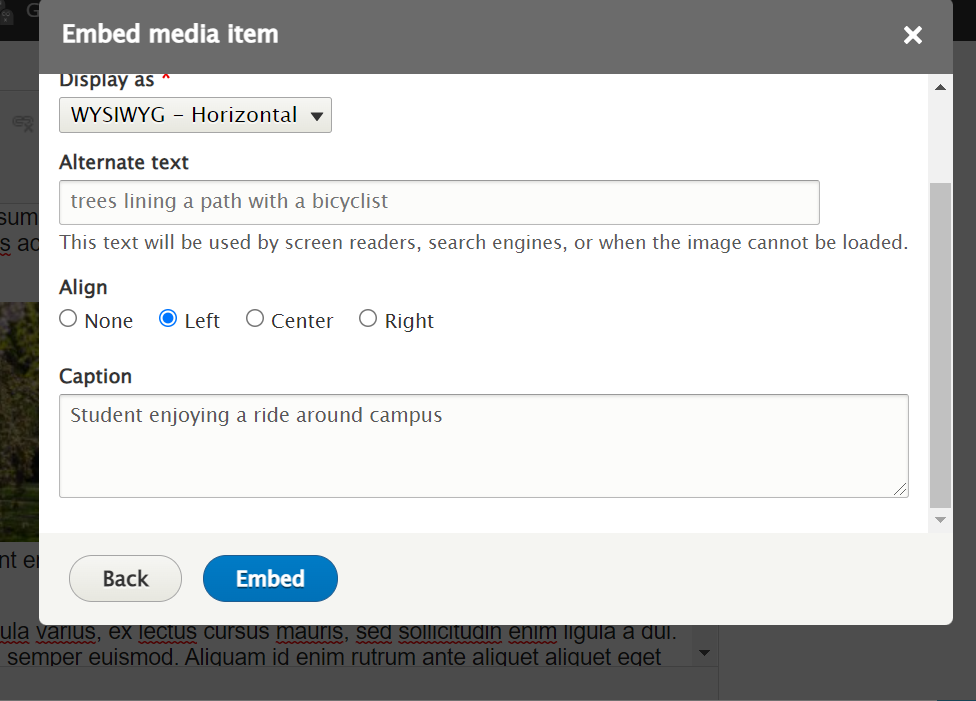
When adding an image into the WYSIWYG there are choices to “Display as” and it is defaulted to WYSIWYG – Full. This default display, or image style, will have the image display the full width of the content area. The WYSIWYG – Horizontal will allow you to float a horizontal display of the image so the text will wrap around it. You can float the image to align Left, Center, Right, or None. The WYSIWYG – natural will let the image display as it was originally uploaded. The WYSIWYG – Video Full is for when one is embedding a video into the WYSIWYG. We will cover this in the Embedding Video article.
The next field is the Caption field. This allows you to add a caption if you desire. If you leave it blank, there will be no caption. Adding caption is encouraged as it makes your image more accessible.
Now you can click the Embed button. You can see it embed the image into the flow of the WYSIWYG text, right where you had placed your cursor.
If we save the page now, we can see what it looks like. If you are unsatisfied with what it looks like, you will want to edit the image. Click the Edit tab at the bottom of the screen.
Then, find and expand the WYSIWYG by pressing the WYSIWYG's edit button. Scroll to the image. Click on the image and select the pencil icon in the Image Dialog.
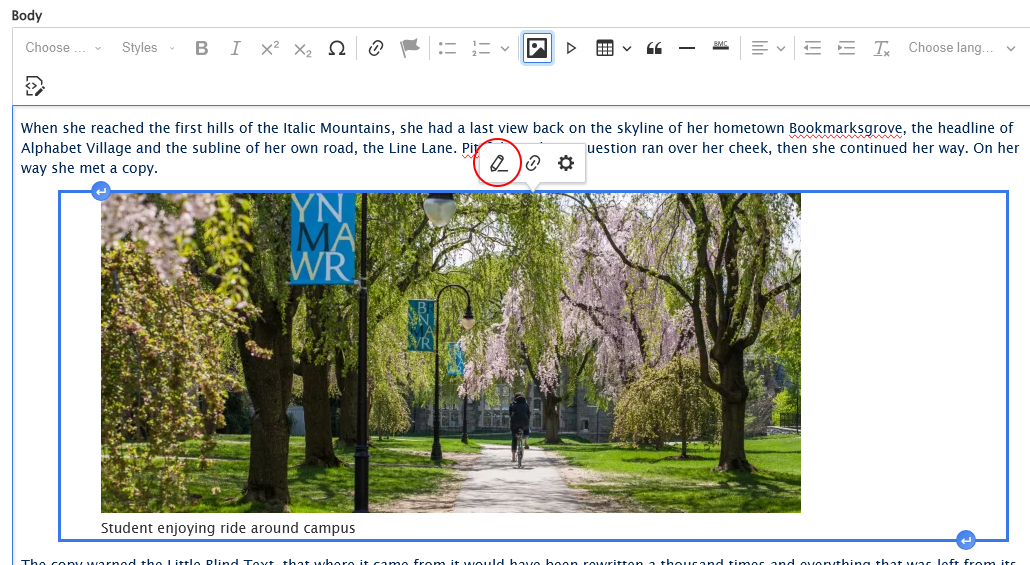
This will take you back to the Embed Media screen where you can edit some of the choices you made, click embed and then re-save the page to see the edit.

How does Drupal know how to display the image?
Let’s pause for a moment to understand what Drupal does with the image and how it uses it around the site. Drupal takes the image file with the assigned focal point and puts it in the Library. The image file is referenced when we add that image file to a new page or a new Flexible Content Item by choosing it from the Library. Drupal will know from that reference to use the originally assigned focal point and corresponding Image Styles for that image file based on where you are adding it. In our earlier screenshot, we showed two News image styles. So, if we are referencing this image by choosing it while we are creating a News article, those are the image styles Drupal will know to use.
Why shouldn’t I edit the Focal Point of an existing image?
Please be mindful of the Focal Point and never reset it once you have embedded the image. If you wish to have a version of the same photo with a different Focal Point, you would need to upload the photo a second time and save it with a different name to reflect the fact that there is a new focal point. For instance, I named this “Tree-lined Campus Path” since my focal point is on the path. Perhaps a new name for a second upload of this photo could be “Campus Trees” if I need a new version with the focal point moved way over into the trees on the left.
If after reading this article or watching the training videos you still have questions, we can help! Sign-up for any of our Drupal Drop-ins throughout the year. Schedule a Drupal training session for you or your whole department with our Drupal Trainer. If you have any additional questions or problems, don't hesitate to reach out to the Help Desk! Phone: 610-526-7440 | Library and Help Desk hoursStill need Drupal help? Have more Drupal questions?
Questions?
Email: help@brynmawr.edu | Service catalog
Location: Canaday Library 1st floor
