Zoom: Use registration to secure meetings
Last Modified on 03/18/2024 10:13 am EDT
Zoom is the college's recommended service for holding virtual public meetings. However, public meetings come with a risk: Zoom bombing. Zoom bombing occurs when an unwanted participant joins a meeting and disrupts it through inappropriate behavior such as yelling over speakers or sharing inappropriate materials. We recommended using registration for events for public meetings in order to prevent Zoom bombing, as it will require participants to register with their email advertised. This includes events advertised in Bryn Mawr's Daily Digest, on the College Events page, or departmental web pages. Even if these events are only meant to the Bryn Mawr community, they can still be found via search engines like Google. So, registration links are vital for keeping your meeting safe.
Before you start, you will need:
Turn on registration and get a registration link
Attention: Registration cannot be enabled through the Zoom app, either on a desktop or mobile device. Instead, you must use the Zoom web portal.
- Log into the Zoom web portal.
- Once logged in, select Meetings.
- On the Meetings page, find the meeting for which you'd like to add a registration link:
- If this is a new meeting, select +Schedule a Meeting.
- If this is an existing meeting, place your cursor on its title. Several buttons will appear. Select Edit.
- Next to the Registration setting, check Required.
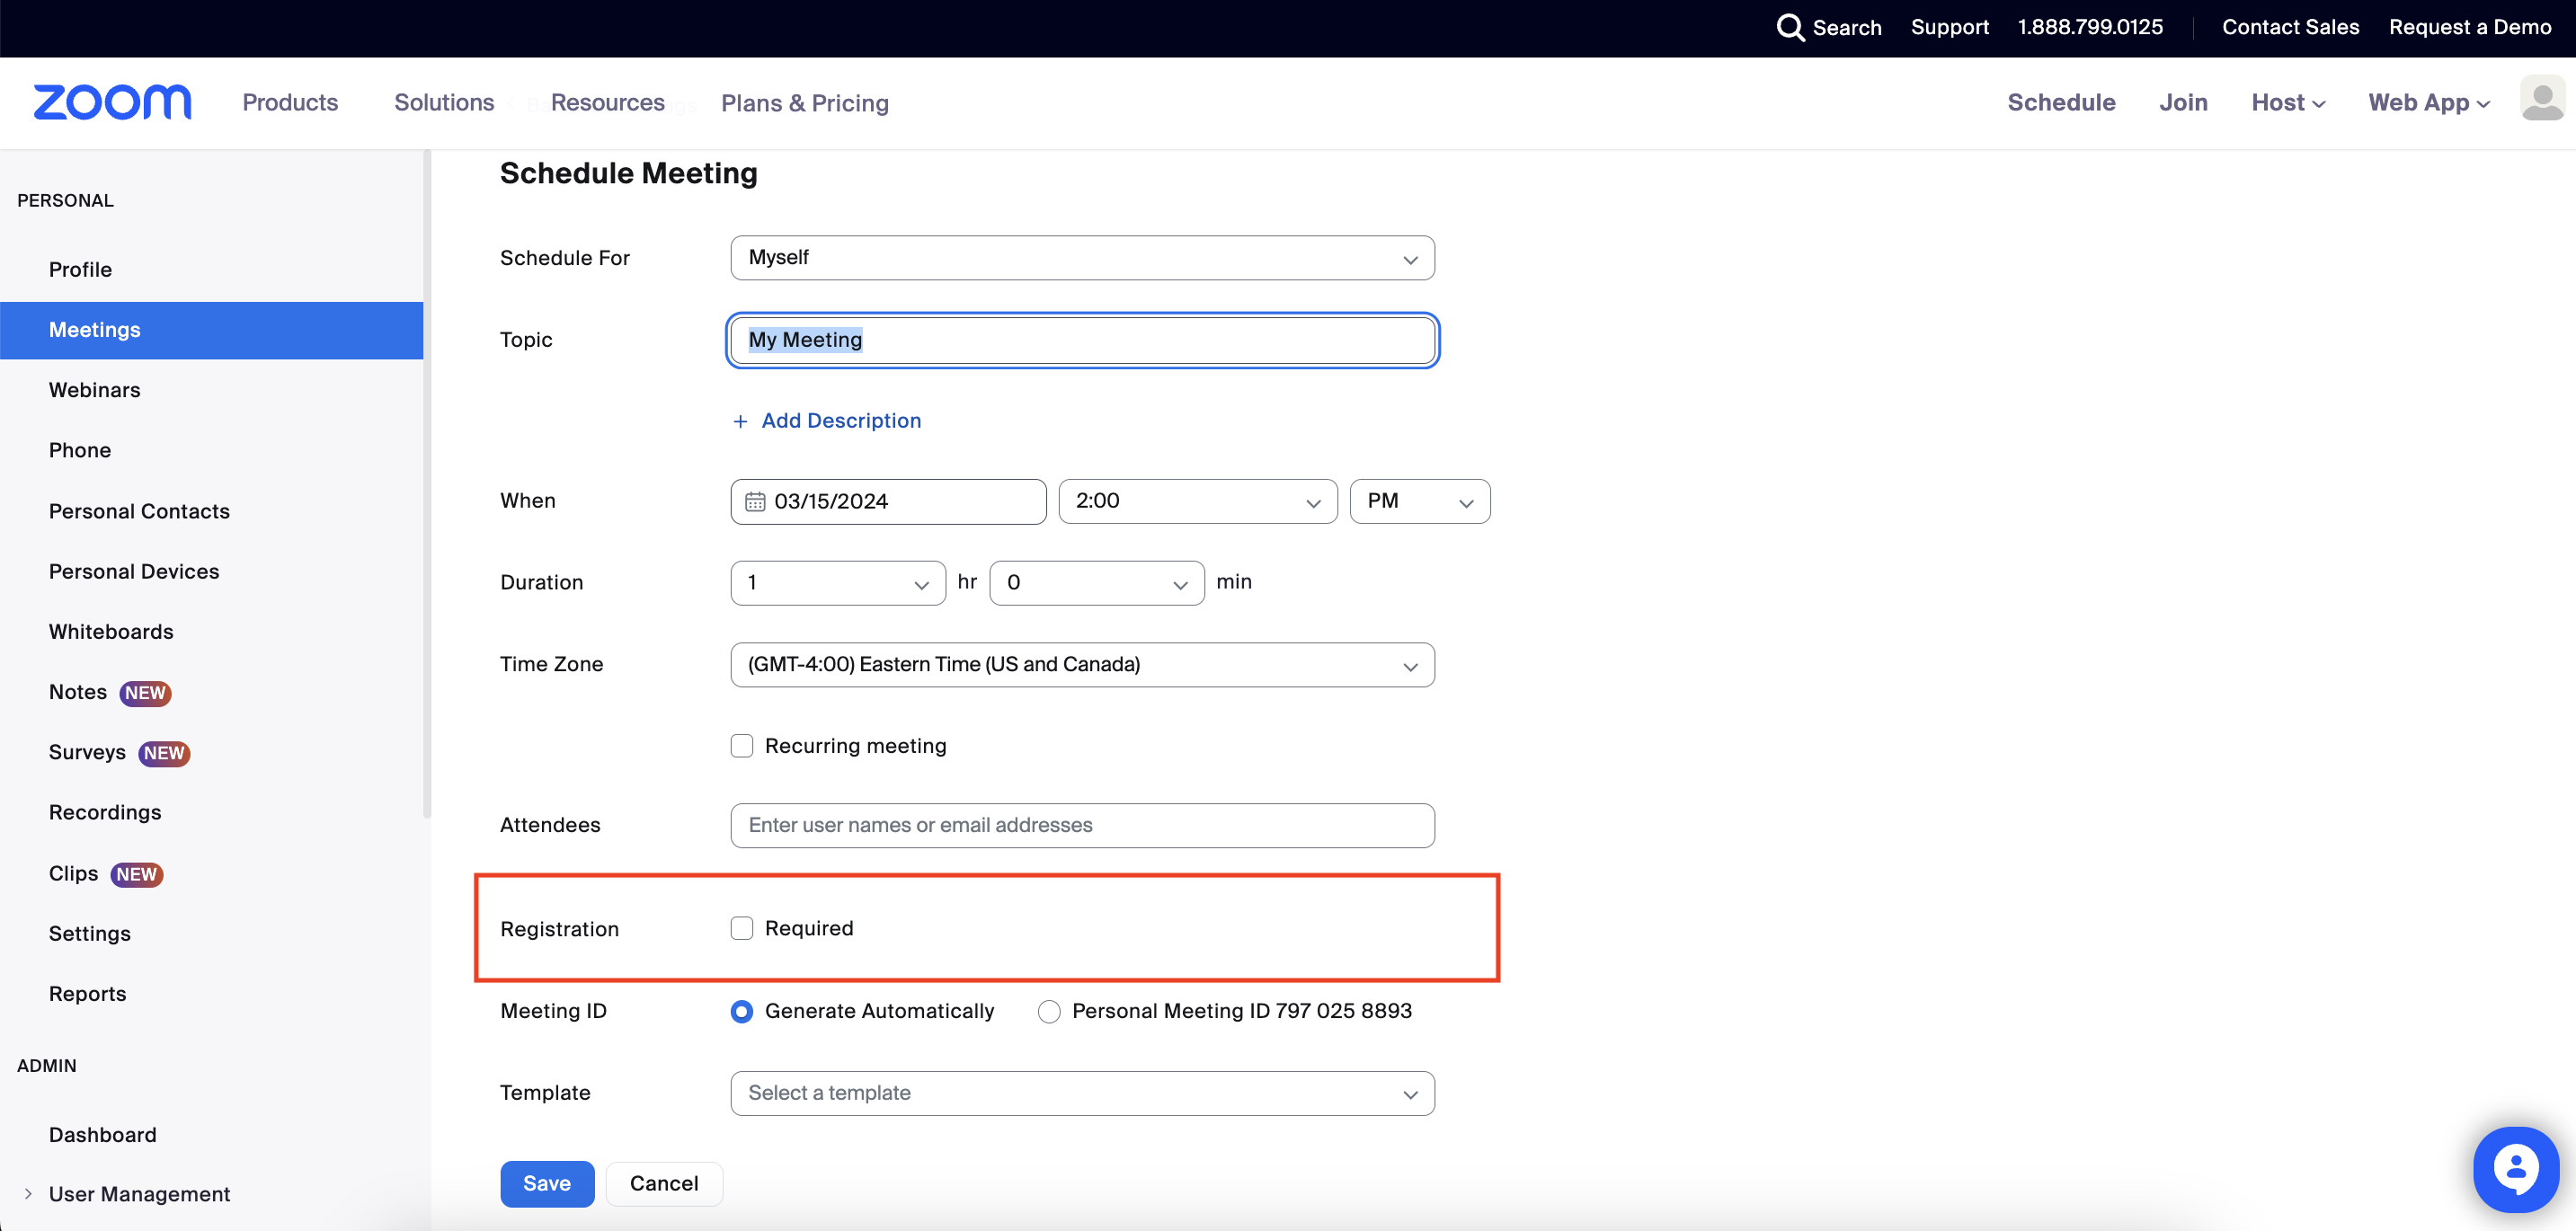 The registration box is highlighted here.
- If this is a recurring meeting, choose one of the following:
- Attendees register once and can attend any of the occurrences (default): Both the registration page and confirmation emails will list all session dates and times. Registrants do not need to indicate which sessions they will attend.
- Attendees need to register for each occurrence to attend. Registrants can only register for one session at a time.
- Attendees register once and can choose one or more occurrences to attend. Registrants can choose one or more sessions from a list of dates and times. Their confirmation email will include information for all sessions they previously selected.
- Scroll to the bottom of the meeting settings page and click Save.
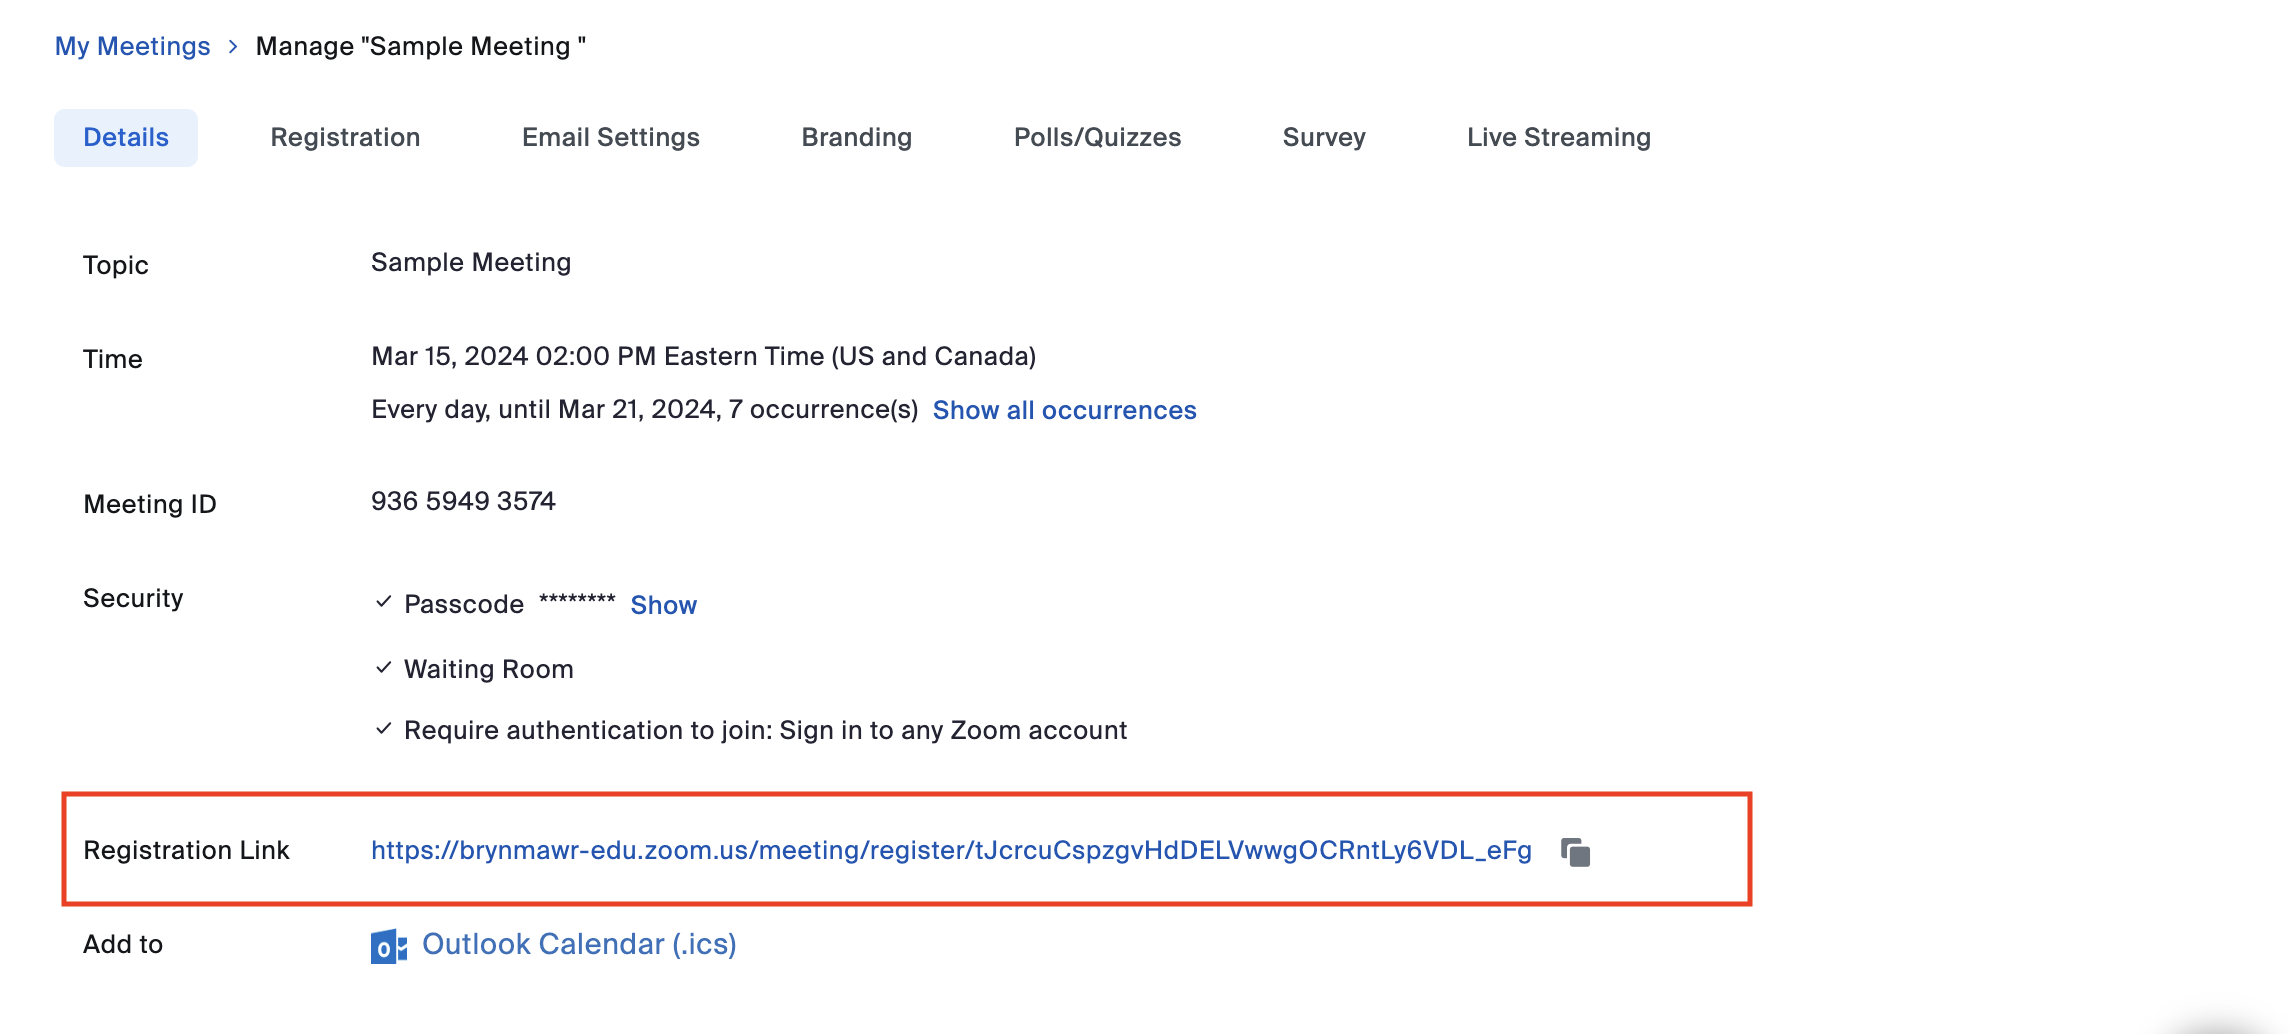
- The Details tab for your meeting will now list a Registration Link in place of the direct meeting link. Copy and share this link on websites, in the Daily Digest, and on social media to enable people to register. When they do, they'll receive an email with the actual meeting link, which they can use to join the session.
Changing registrations setting
By default, the registration form asks potential participants for their first name, last name, and email address and all submitted registrations are auto-approved. You can change one or both of these settings by doing the following:
- Log into the Zoom web portal.
- Once logged in, select Meetings.
- On the Meetings page, find the meeting whose registration you want to edit. Click on its title.
- On the next page, open the Registration tab.
- Find the section Registration Options and click Edit.
- Customize your options as needed:
- Change the approval setting to Manually Approve if you want to approve each registration before a confirmation email with a meeting link is sent.
- Check Send email to host if you want to receive an email when someone registers.
- Close registration after meeting date is automatically selected and cannot be changed. This prevents people from signing up after the meeting has ended. Participants can still register for a meeting that's started but not yet ended, however.
- If you are expecting a very large audience, uncheck Allow attendees to join from multiple devices. Each device that joins a meeting counts toward the cap of 300 participants. Restricting registrants to a single device enables more people to participate.
- Uncheck the Show social share buttons on the registration page to hide the buttons allowing participants to share the registration link on services like LinkedIn or over email.
- Click over to the Questions tab to add pre-configured fields like Phone or Job Title to the registration form. You can also select +Add Question in order to include a custom question in the registration (e.g., "Why are you attending this event?").
- When finished, click Save All.
In addition to these settings, there are further ways you can customize your registrations settings.
- Click on the Branding tab to add an image or logo to registration form. You can also add one to the invitation page or confirmation email.
- Click on the Email Settings to change edit the contact name and text in the confirmation email.
Manage registrations
If you've turned on registration for a meeting, you can view the registration list, cancel registrations, and resend confirmation emails at any time. You also can approve registrations, if you have chosen to do so manually. All these can be accessed by doing the following:
- Log into the Zoom web portal.
- Once logged in, select Meetings.
- On the Meetings page, find the meeting whose registration you want to edit. Click on its title.
- On the next page, open the Registration tab.
- In the Manage Participants section, click View.
- Check off names of any participants whose registration you want to change. Then, click the appropriate button to Approve Registration (if available), Cancel Registration or Resend Confirmation Email.
Export registration information
Zoom retains registration data—including name, email address, approval status, registration date, and any other information collected on the registration form—for 30 days following the end of a meeting.
To access this data, do the following:
- Log into the Zoom web portal.
- Once logged in, select Reports.
- On the Usage Reports tab, click Meeting.
- Set the date range to include the meeting whose data you want, choose Registration Report, and click Search. You can also select Advanced Search to search by a particular meeting ID.
- Find the meeting you want and click its Generate button.
- Choose whether you want to see data for All Registrants, Approved Registrants, or Denied Registrants. Then, click Continue.
- Click the Report Queue tab to download the report once it’s available. Reports will be in the CSV format, which can be opened by any spreadsheet program.
Further reading and videos on Zoom Registration
Questions?
If you have any additional questions or problems, don't hesitate to reach out to the Help Desk!
Phone: 610-526-7440 | Library and Help Desk hours
Email: help@brynmawr.edu | Service catalog
Location: Canaday Library 1st floor
 The registration box is highlighted here.
